Christmas is the busiest time of year for many candle makers, and a big batch means a lot of wicks to set. If you've ever wanted a quick way to centre a candle wick and have it stay put, you're in good company.
You press the tab down in the middle of the jar, start pouring, and by the time the wax has set the wick has wandered a little to one side. Multiply that across a full tray of jars and it adds up to a lot of adjusting by hand.
We'd like to lend a hand with that. Below we look at why wicks move, and how our Wick Helper keeps them upright and centred through the pour.
Why it's tricky to centre a candle wick by hand
Setting a wick by eye is harder than it looks, and it's no reflection on the maker. A few small things work against you.
Finding the true centre
Looking down into a jar, it's hard to judge exactly where the middle of the base is. Even a careful hand can place the tab slightly off, especially in deeper jars and amber glass.
Nothing holding the top of the wick
Once the tab is down, the top of the wick is free to lean. Pouring wax around it, and moving the jar afterwards, can nudge it out of line before the wax begins to set.
Doing it again and again
One jar is manageable. Twenty or thirty in a Christmas batch is where consistency starts to slip, and where a guide that does the centring for you really helps.
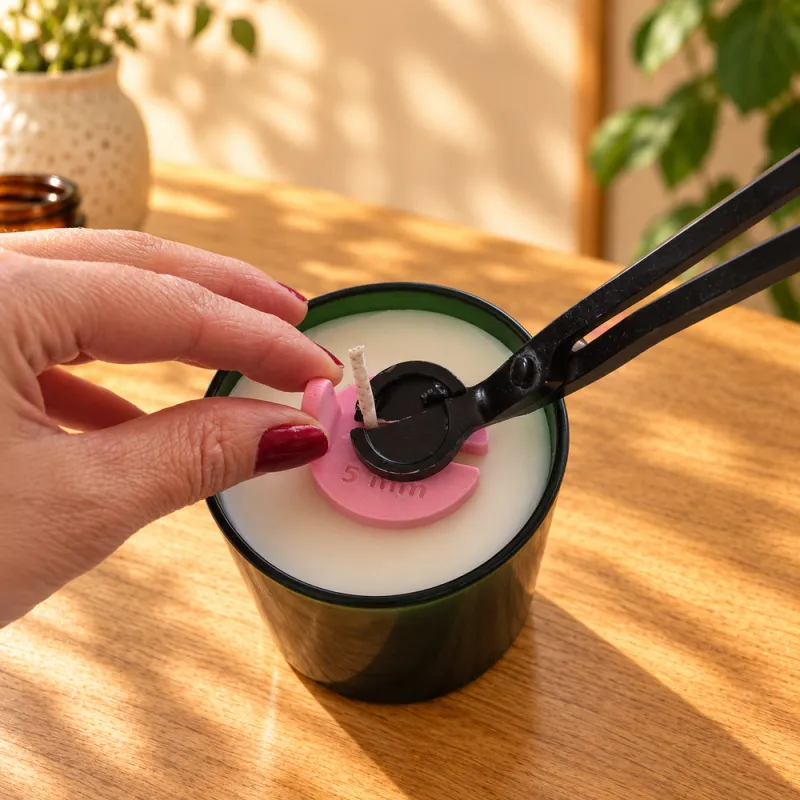
The same goes for the steps either side of the pour. Our guide to applying candle jar labels neatly covers labelling, and the Wick Trimming Guide gives you a height reference when it's time to trim.
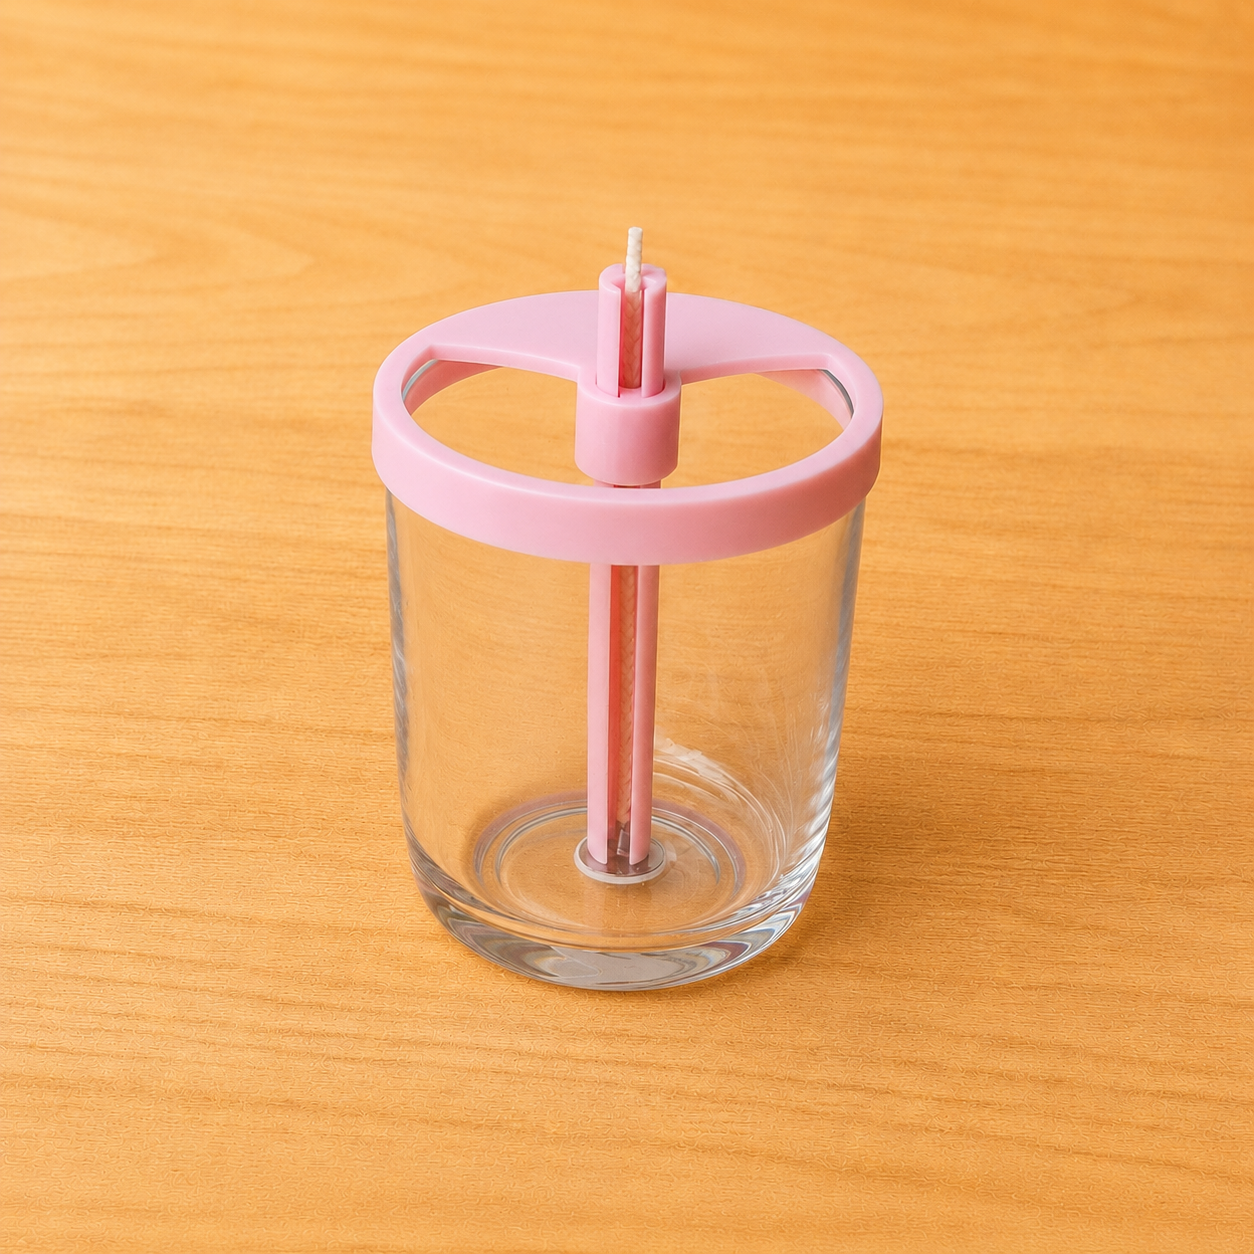
Wick Helper
Two parts, two jobs
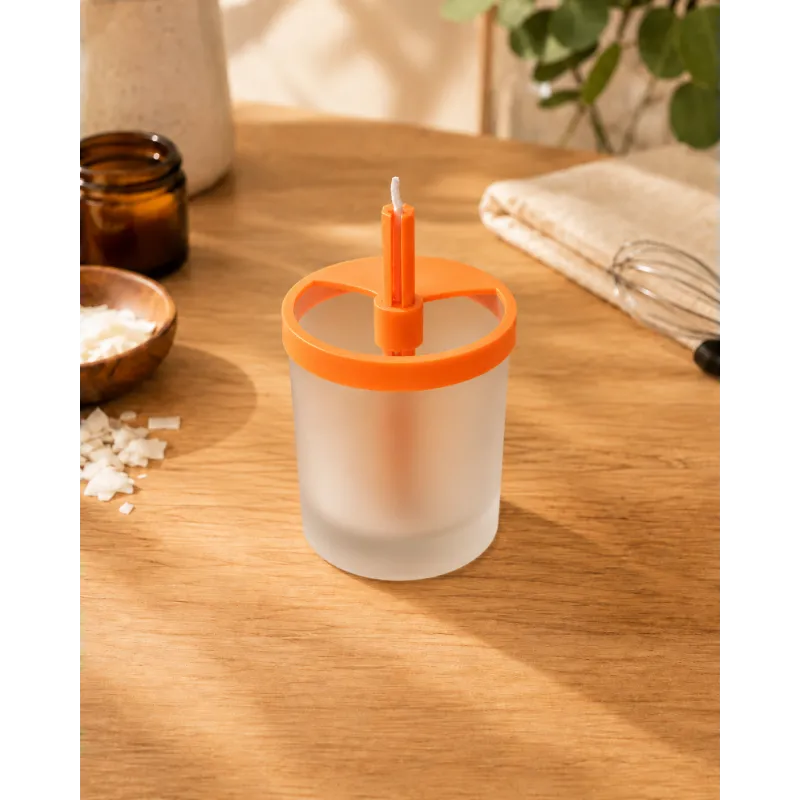
The Wick Helper has a Placement Tube and a Wick Holder.
The Placement Tube positions the wick tab in the centre of the container base, then lifts out to be reused. The Wick Holder sits on top of your jar or tin and keeps the wick upright and centred while you pour and the wax begins to set.
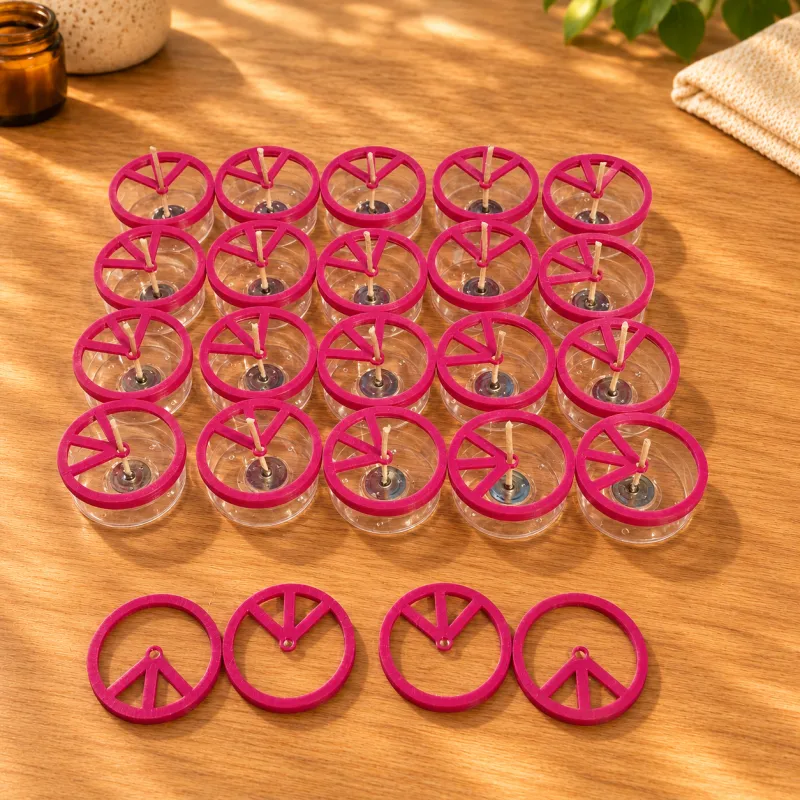
You'll normally want one Wick Holder for each candle you pour at the same time. One Placement Tube can be reused across Wick Holders of the same fit.
See the Wick Helper in use
How to centre your wick with the Wick Helper
-
Feed the wick through
Thread your wick through the Wick Holder.
-
Insert the Placement Tube
Slot in the Placement Tube that matches your Wick Holder fit.
-
Press the tab down
Use the tube to position the wick tab and press it onto the centre of the container base.
-
Remove the tube
Lift the Placement Tube out. It's ready to use again with other Wick Holders of the same fit.
-
Pour
Leave the Wick Holder on the container while you pour, so the wick stays upright and centred as the wax begins to set.
Wick Helper questions
Select your container supplier and your exact jar or tin from the product options. We've matched each listed container to the correct fit, so there's no need to measure. Jars with the same capacity can have different dimensions, so please choose the exact one you use.
Choose Bespoke Fit and enter the outer top diameter of your container. Bespoke fits are available from 40 to 94 mm. For glass jars and metal tins, measure straight across the outside of the top rim. For threaded and amber apothecary jars, measure across the outside of the neck, including the thread.
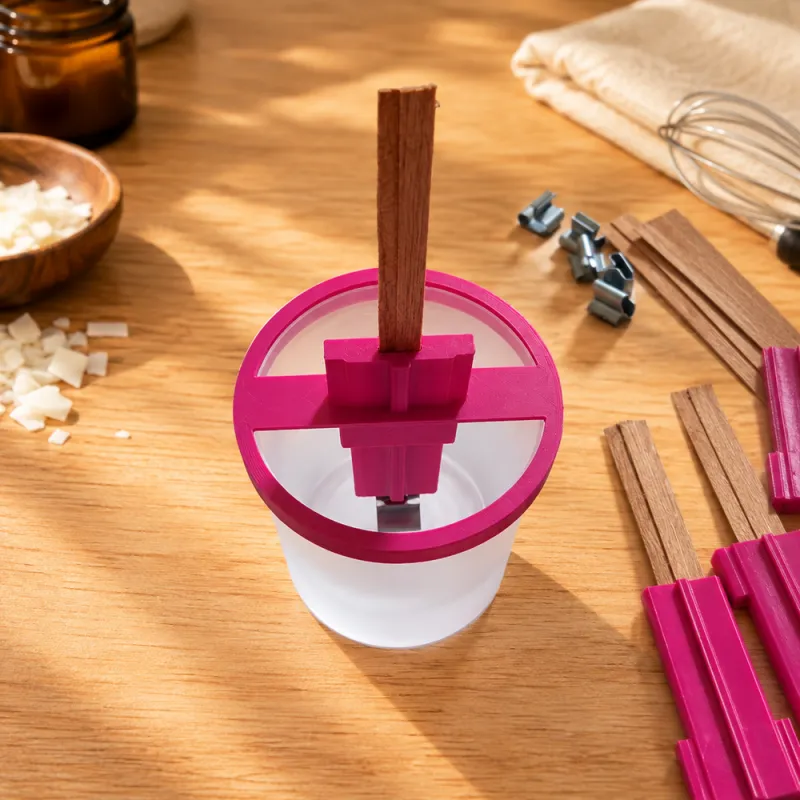
The Wick Helper suits braided wicks up to 3.5 mm. It isn't suitable for wooden wicks. For those, have a look at our Wooden Wick Helper.
We do not recommend. The Wick Helper is 3D printed and isn't heatproof, so keep it away from direct heat and don't pour hot wax directly onto it. If wax does touch it, let it cool fully, then wash by hand in warm soapy water with a soft cloth.
Not sure which fit you need?
Tell us your supplier and container, or its outer top diameter, and we'll help you find the right Wick Helper.
Tools for your candle batches