A Bespoke 3D Printed Jig for Labelling Tapered Bottles
Placing a label consistently becomes more demanding when the bottle is tapered and the label also needs to line up with artwork already on the glass.
For this bespoke project, a customer approached Creative 3D Prints with approximately 200 bottles to label by hand. They needed a practical guide for two specific requirements: the bottom of each label should sit 15 mm above the bottle's base, and its centre should align with the logo already printed on the bottle.
The result was a custom bottle labelling jig, developed and 3D printed for that particular bottle and label combination.
Understanding the bottle and the task
The enquiry began with technical drawings, label specifications and a photograph showing the intended result. These gave us a useful starting point, but the bottle's tapered shape and large wraparound label meant our existing Label Helper tools were unsuitable.
To investigate a bespoke solution, we needed to work with the physical items. The customer supplied a bottle and spare labels so we could assess how the bottle sat in a guide and how the label behaved during application.
Those samples helped turn the brief into a design we could develop and test.
Developing a guide around the label
We created a proof of concept to demonstrate the approach, then discussed the details with the customer before making the final adjustments.
The label guide was designed around the required label size and shape, with its position set for the specified distance from the bottle's base. The tool also needed to support alignment with the existing bottle logo.
These requirements made this a dedicated jig. Its dimensions and positioning were developed for this exact bottle and label, rather than as a general-purpose applicator.
How the finished tool works
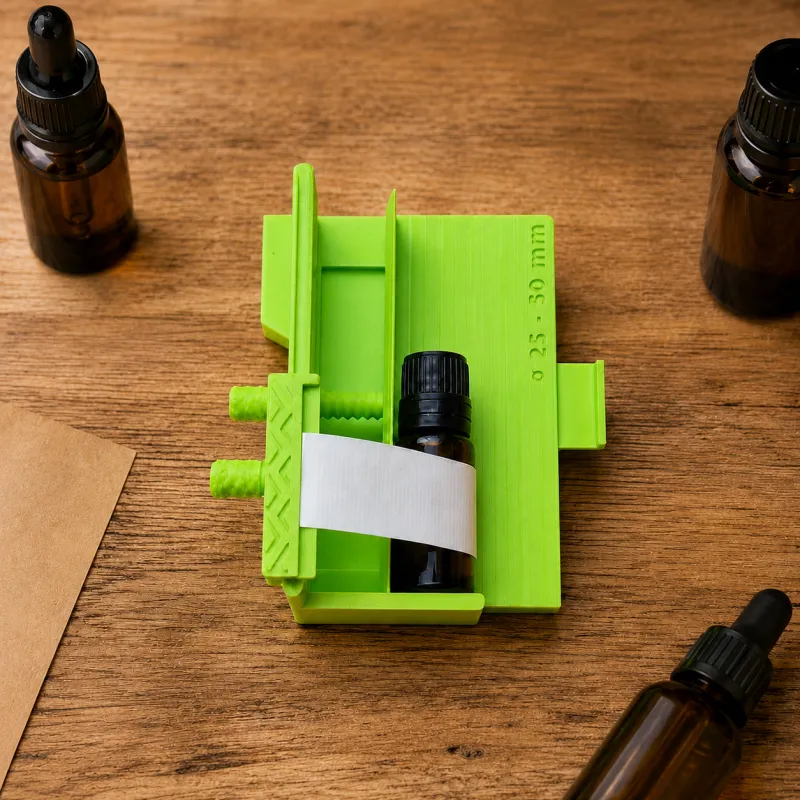
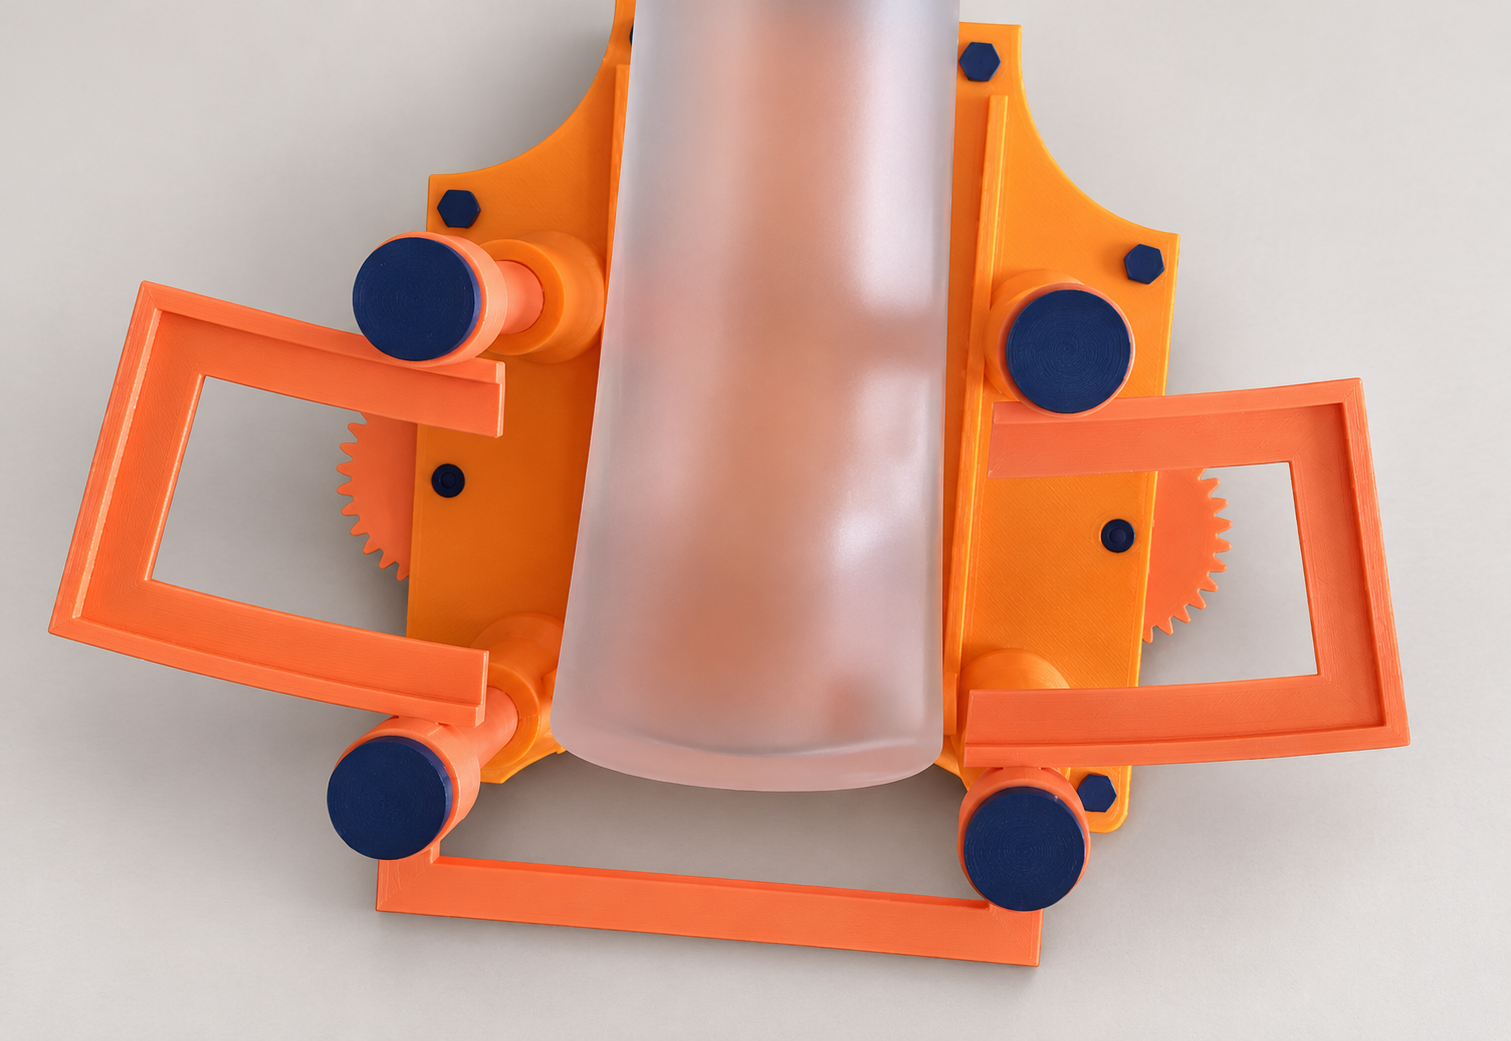
The jig provides a way to position the bottle and support a loose label before bringing them together.
The process involves:
- Positioning the bottle in the jig and checking its orientation against the existing logo.
- Removing the label completely from its backing.
- Resting the label on the supporting lips of the applicator guide.
- Using the hand-operated adjustment to bring the bottle and label together, then smoothing the label around the bottle by hand.
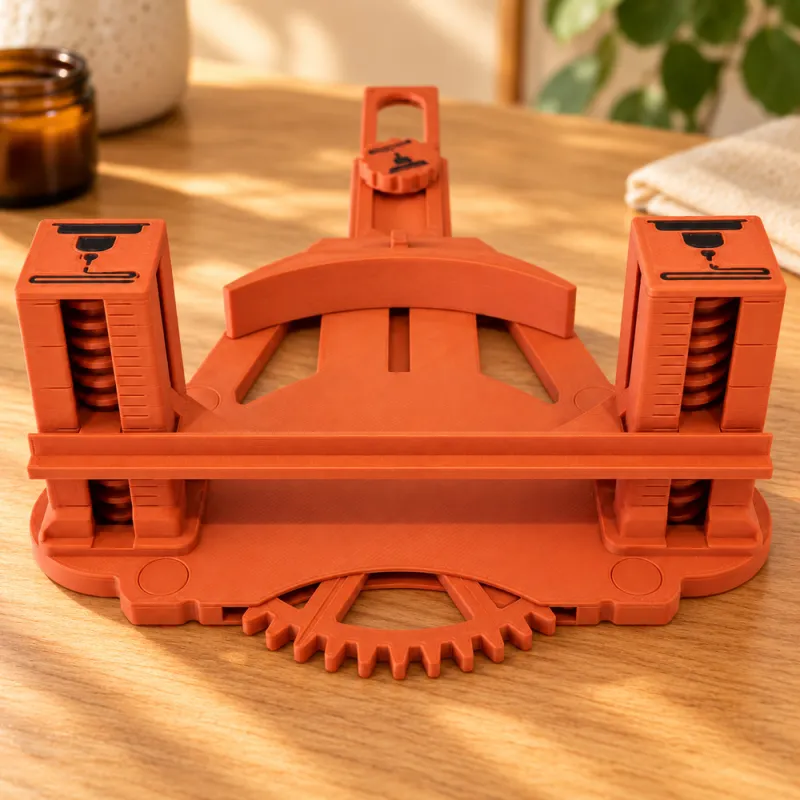
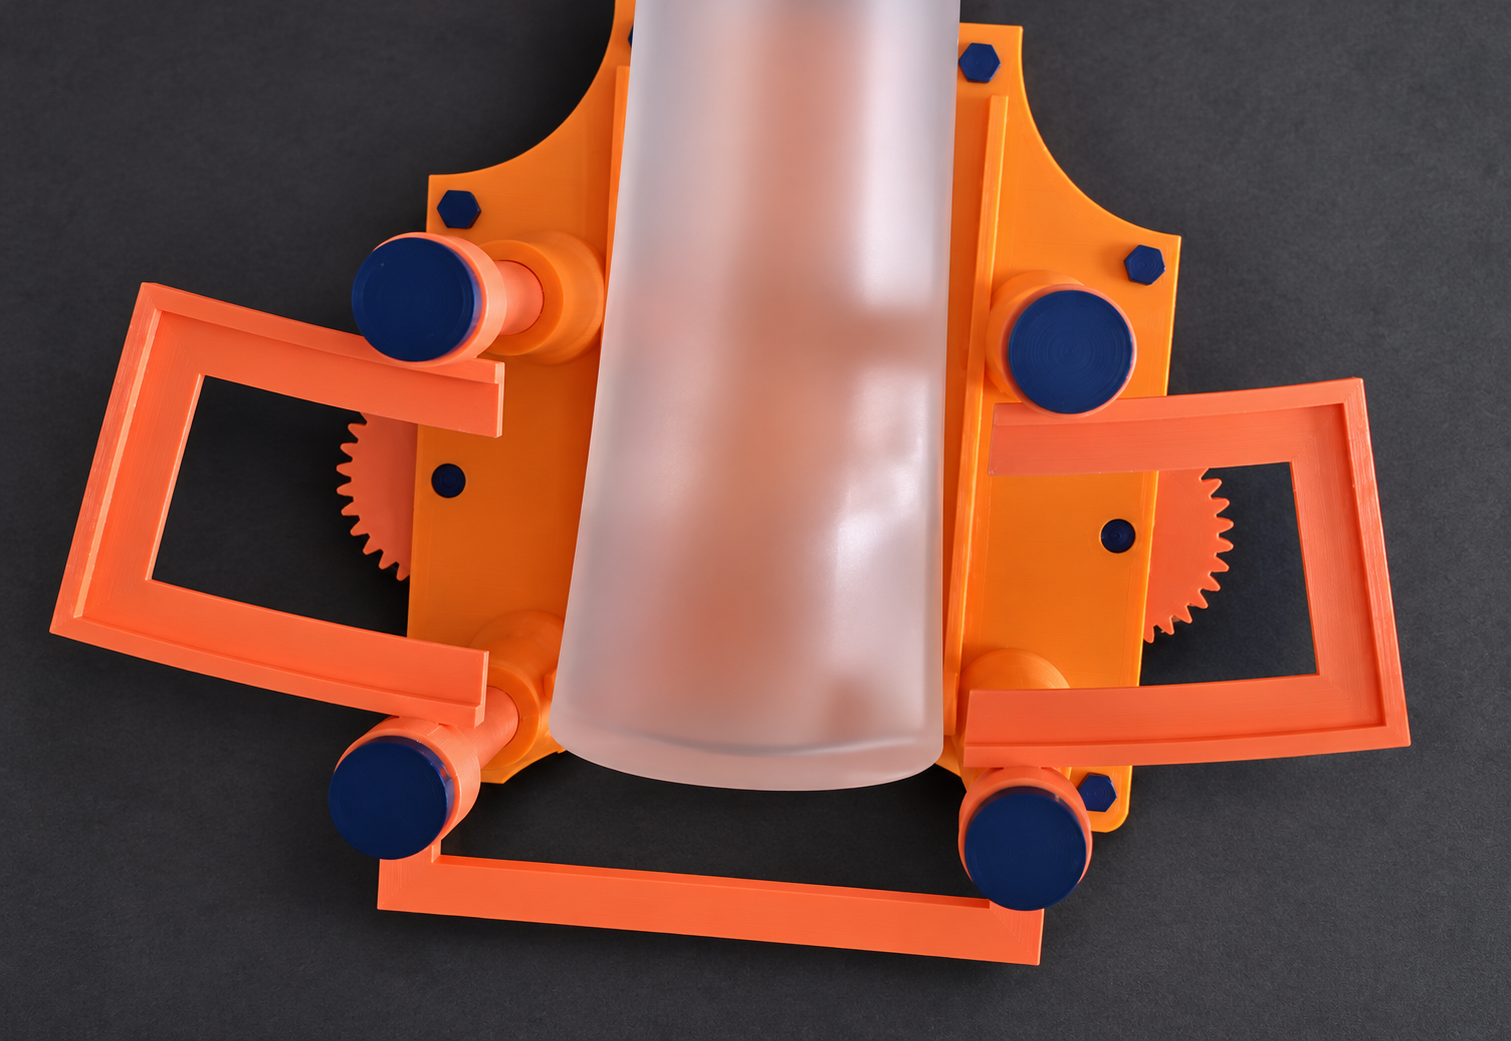
The finished tool uses an orange printed structure with dark blue components and a geared adjustment mechanism. The bottle support, label guide and manual adjustment work together to provide a repeatable setup for the customer's specific labelling task.
From a specific problem to a working tool
After trying the jig, the customer reported that it worked well overall. Their feedback also identified the manual adjustment as an area that could be made easier to operate, prompting a discussion about a possible future side-knob modification.
That is part of the value of a bespoke design service: the work can develop around both the original requirements and feedback from use.
For this commission, the immediate goal was a practical tool for a defined labelling task. Design development, physical testing and 3D printing brought those requirements together in a one-off solution.
Need a tool designed around your task?
If you have a repetitive job that could benefit from a custom jig, guide or holder, get in touch to discuss our bespoke 3D design and printing service.
Photographs, dimensions and a description of the task are useful starting points. For a fitted tool, physical samples can help us assess the design and test the approach.
Tell us what you need to position, hold or align, and we can discuss what may be possible and prepare a quote for your project.
Ready to start?